Saturday 13 August 2011

Assigment 2 Part 2


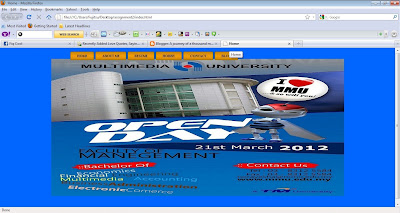
Continue from the previous work. Lets see the steps for the second part now.

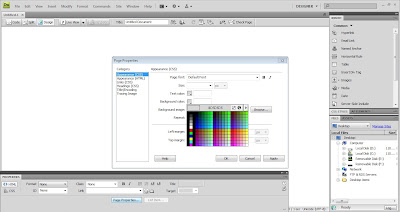
Step 1: Under the page properties choose a background image under background image and browse your picture and click ok


Step 2:  To do the background for the next page. First right click and choose align center.                   
Step 3: Insert Table and set rows as 1 and column as 0

Step 4: When the table is created, insert image and choose the image for the header. And just click ok
Step 5: Right click the picture and choose remove tag. The picture will dissapear once you click this.
Step 6: Right click again and choose edit tag.
Step 7: A box like this will show up once u click on the edit tag. Change the width to 900 and height to 180
Step 8: Under browser script click on browse. and choose the header image again.
Step 9: Now you are able to write what you want. And if you right click, you are able to change the font and alignment and others.
Step 10: Insert table again. and click ok.
Step 11: insert image again just like step 4 and repeat the other steps to do the text.
Step 12: Insert image for the footer at the bottom by repeating the steps just like before. Inserting table first and insert image and remove tag, then edit tag. Insert the image again so that you can write text above the picture.


Sunday 31 July 2011

Assignment 2- Dreamweaver

Hey, so this is our second assignment. Lets take a look at what i have done for the first week submission.


Step 1: Open dreamweaver and click on html and press ok. You will have a blank white page. and under the blank page there is a window that says properties. And just click on the page properties. A window like above will show up. Just change the background color to blue.

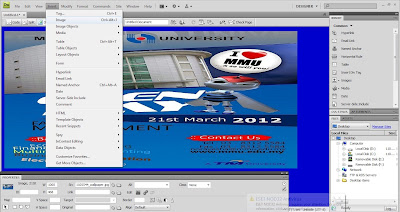
Step 2: Click on insert. Insert the e-wallpaper image. 


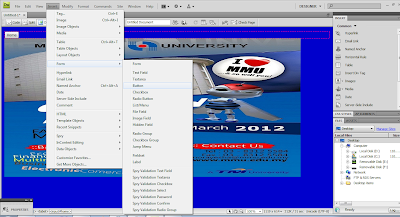
Step 3: To do the buttons, just click the insert window again. And Choose form then choose button. Just change the value to Home. Do the exact same thing to the other 4 buttons. Assign the name.
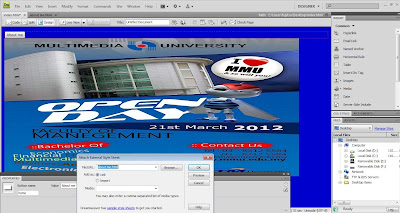
Step 4: Open a new page and save it as about me. Then under the properties click on the option and choose attach style new sheet. Put the link as about me.html. Do the same for the other remaining buttons.
The final look after the button has been create and all are linked to a page. hehe


Saturday 16 July 2011

Telaga Tujuh Edit Pics

Picture 1

For this picture, first i used the clone stamp tool to add more waterfall into the picture. Next, I use the quick selection tool in the other waterfall picture and select the kid in the picture. Then i drag into the Telaga Tujuh waterfall picture. Just to add to the plain picture.
Here is the result of the edit.
Picture 2

For this picture i just play around with the brightness and contrast.
The end result

Temurun Waterfall Pics Edit

Picture 1
I use lighting effects under Image window and start adjusting the lighting effect

I also use levels under the Adjustment. Just to enhance it better

Next, I played around with the shadows highlights. Change the color correction to -52
Using the clone stamp tool hidden, I use this to make the 3 kids in the picture dissapear. So i press Alt at the waterfall and start coloring the kids so that it is cloned like the waterfall

This is the result of the edit.

Picture 2

First use the magic selection tool hidden under the quick selection tool. Select the sky picture. And right click and choose layer via cut. So on your left there will be a new layer establish.

Make sure u are on the new layer u have created just now. Click on the filter window and choose artistic. Select Pallete. and click ok

Click on the image window choose auto color.
This is the final result

Thursday 14 July 2011

Lets do the retouching:)

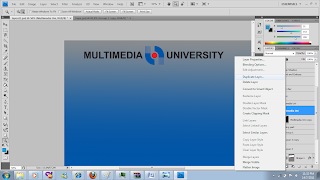
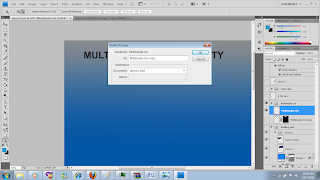
we are going to retouch this mmu logo. first right click on mmu logo layer and choose duplicate layer
A message box will appear like this one,just click ok
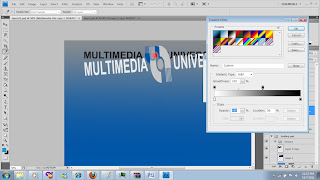
once u have duplicate the layer just resize the duplicate logo bigger than the original ones. And use adjustment, choose gradient tool and start adjusting the color according to your own preference.
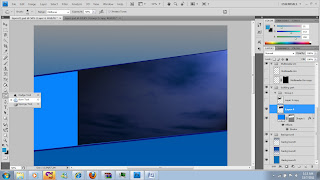
double click on the layer and choose stroke. Set the stroke pixel to 20 px

Use burn tool to have the burning effect of the sky picture. The burn tool is hidden under the dodge tool
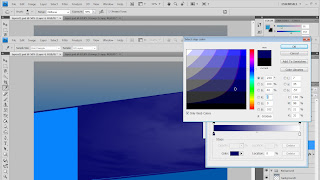
Use adjustment under the image window. Click on gradient map and start using the color. Pick the color of your preffered choice.
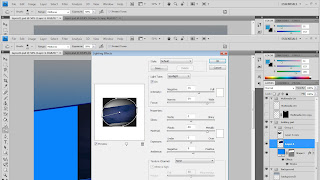
I also use lighting effects to add more effect on my sky. Lighting effect is under Filter window > Render > Lighting effects. I play around with the lighting effect to get the result i wanted.
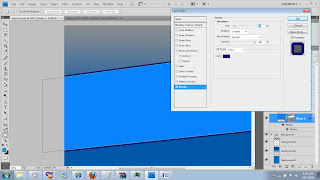
Under the badge layer click on the layer style and choose Bevel and Embose and tick on the drop shadow. Use the dodge tool to make the badge more shining.  Set the depth of bevel and emboss to 164 % and size to 54 px. 
select the building layer and choose adjustment and then select brightness and contrast. Adjust the brightness and contrast there.

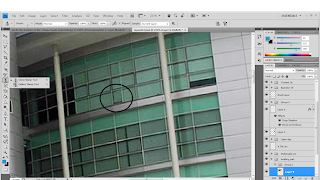
I use clamp stamp tool to the circled area. The Clone Stamp tool paints one part of an image over another part of the same image or over another part of any open document that has the same color mode

For the eyes of the ebee, i use polygonal lasso tool hidden under rectangular tool. I selected the eye part using palygonal lasso tool. Then i click on image >adjustment>hue and saturation. Since i want the eye to be a bit brighter than the orginial eye, i change the saturation to +99 and lightness to -3

Wednesday 13 July 2011

Durian Perangin Edit Pics

PICTURE 1
click on SELECT > color range > select the waterfall image only.

Press down CTRL J and u will have another layer on the layer panel. 

under FILTER > Blur> Motion Blur > adjust to your preffered pixel and angle.
I also use the clone stamp for clone effect for the stone.


PICTURE 2
Under IMAGE > click adjustment > click on the color balance and change the red and cyan to +34 and yellow and blue to -10

Still under adjustment click on the exposure and adjust the exposure to +0.66 and gamma to 1.12
The final outcome of the 2nd picture

Thursday 7 July 2011

Lets freshen up with 3 famous Langkawi waterfalls

This post is for our group assignment. My group is doing Langkawi Island. And as requested by our tutorial group leader, here are the raw pictures for the task I am in charge with (which is Langkawi waterfalls)

Air Terjun Temurun Watefall


Durian Perangin Waterfall


 Seven Wells Waterfall - Telaga Tujuh