 |
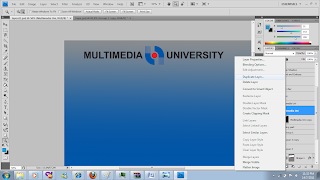
| we are going to retouch this mmu logo. first right click on mmu logo layer and choose duplicate layer |
|
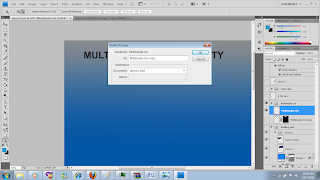 |
| A message box will appear like this one,just click ok |
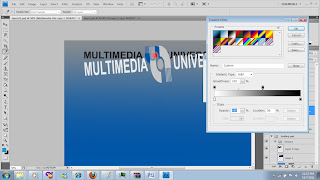 |
| once u have duplicate the layer just resize the duplicate logo bigger than the original ones. And use adjustment, choose gradient tool and start adjusting the color according to your own preference. |
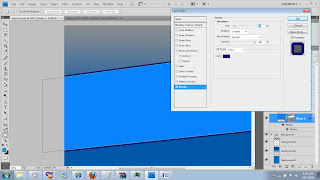 |
| double click on the layer and choose stroke. Set the stroke pixel to 20 px |
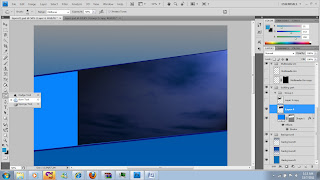 |
| Use burn tool to have the burning effect of the sky picture. The burn tool is hidden under the dodge tool |
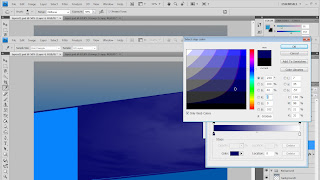 |
| Use adjustment under the image window. Click on gradient map and start using the color. Pick the color of your preffered choice. |
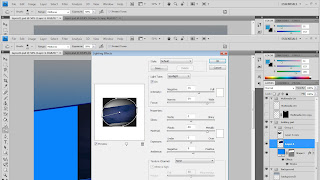 |
| I also use lighting effects to add more effect on my sky. Lighting effect is under Filter window > Render > Lighting effects. I play around with the lighting effect to get the result i wanted. |
Under the badge layer click on the layer style and choose Bevel and Embose and tick on the drop shadow. Use the dodge tool to make the badge more shining. Set the depth of bevel and emboss to 164 % and size to 54 px.
select the building layer and choose adjustment and then select
brightness and contrast. Adjust the brightness and contrast there.
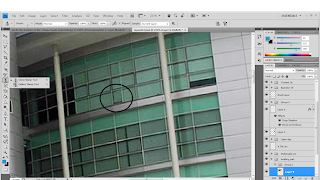 |
I use clamp stamp tool to the circled area. The Clone Stamp tool paints one part of an image over another part of the same image or over another part of any open document that has the same color mode
For the eyes of the ebee, i use polygonal lasso tool hidden under rectangular tool. I selected the eye part using palygonal lasso tool. Then i click on image >adjustment>hue and saturation. Since i want the eye to be a bit brighter than the orginial eye, i change the saturation to +99 and lightness to -3 |




0 Comments:
Post a Comment
Subscribe to Post Comments [Atom]
<< Home